

A couple months ago I posted my little sister's bedroom makeover that I made a quilt and some pillows for. I recently did the same thing to my other little sister’s room and wanted to share how I made the quilted pillow shams. The tutorial for the flower pillow is here.


See the pillows and shams from my other sister's room here.
Materials: (This is enough for making two shams)
fabric for quilted front- total of one yard (I had 7
fabrics, and used 1/8 to 1/4 a yard of each)
½ yard of fabric for binding (I used one of the fabrics from
the quilt)
1 ¼ yard of fabric
for back of sham
1 yard of “scrap” fabric (won’t be visible)
thin cotton batting
walking foot (optional)
sewing supplies (machine, iron, rotary cutter)

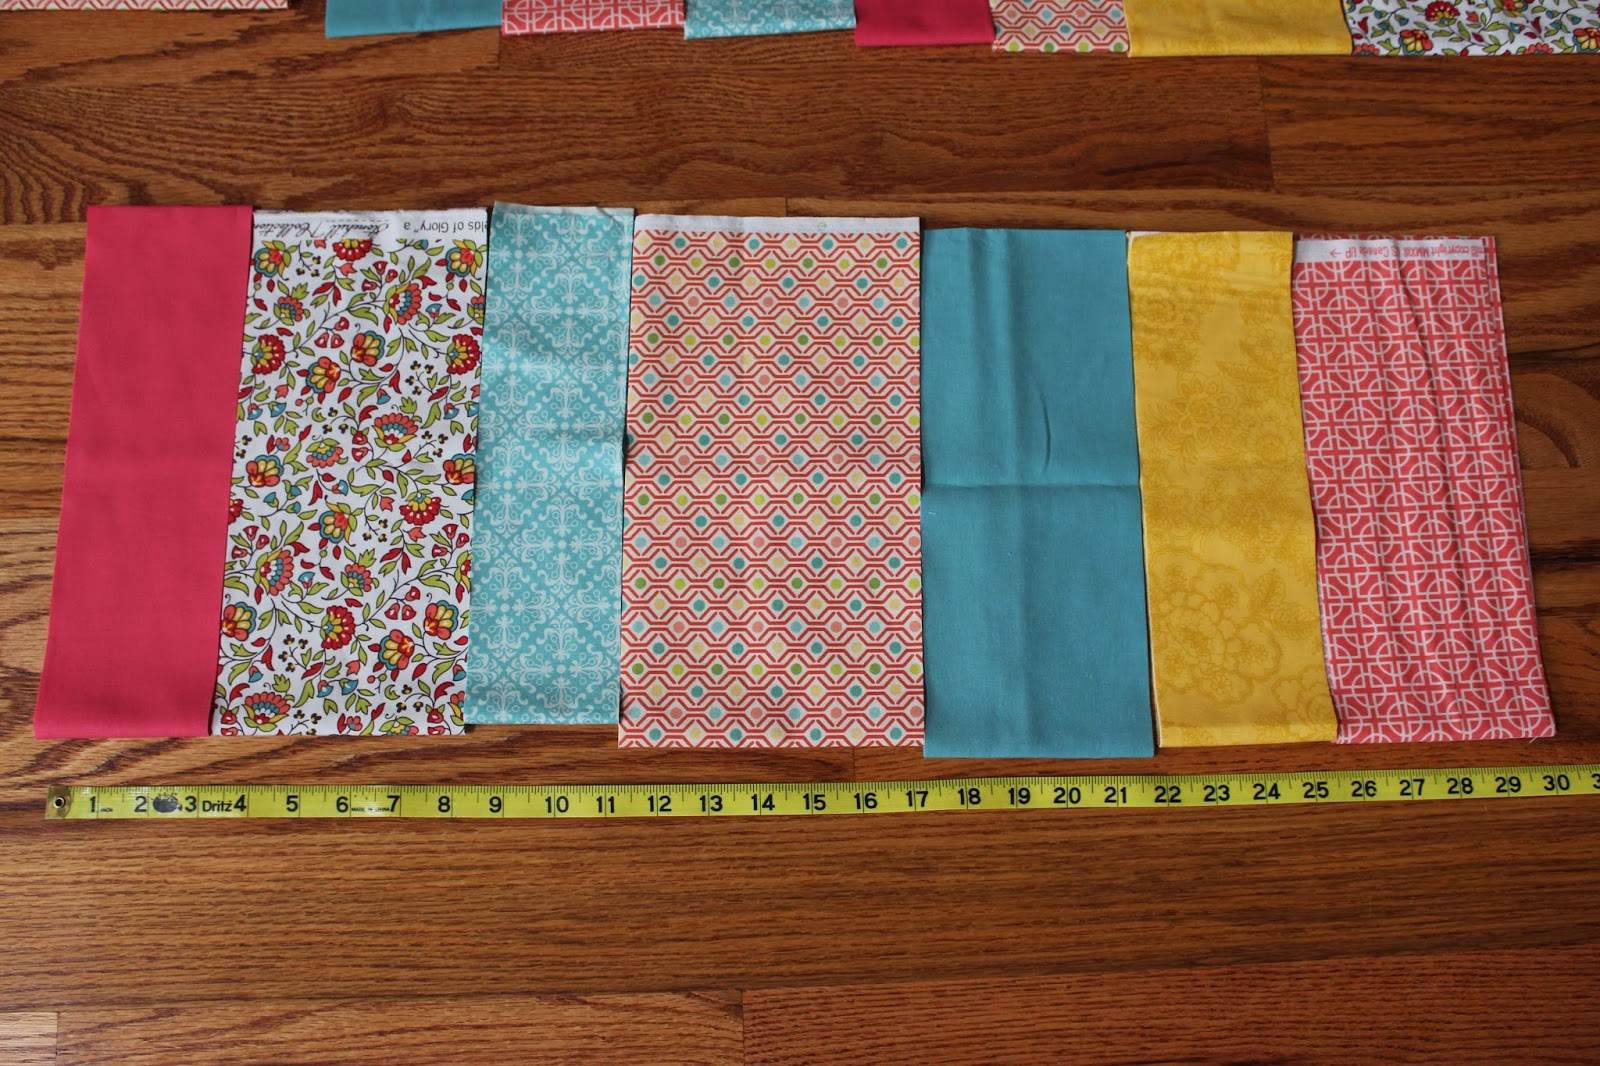
Cut your fabrics into strips along the length of the fabric (45”).
I varied the widths 4-8 inches, but you could also cut them even widths. So each strip should be 45" x 4" (or whatever width you chose.) You need the widths of your strips to total 36".

I made a quilt at the same time that matches the shams. The quilt is the row of strips above, and the sham is below it. I am not making a tutorial for the quilt, but it's basically a larger version of my baby quilt tutorial.


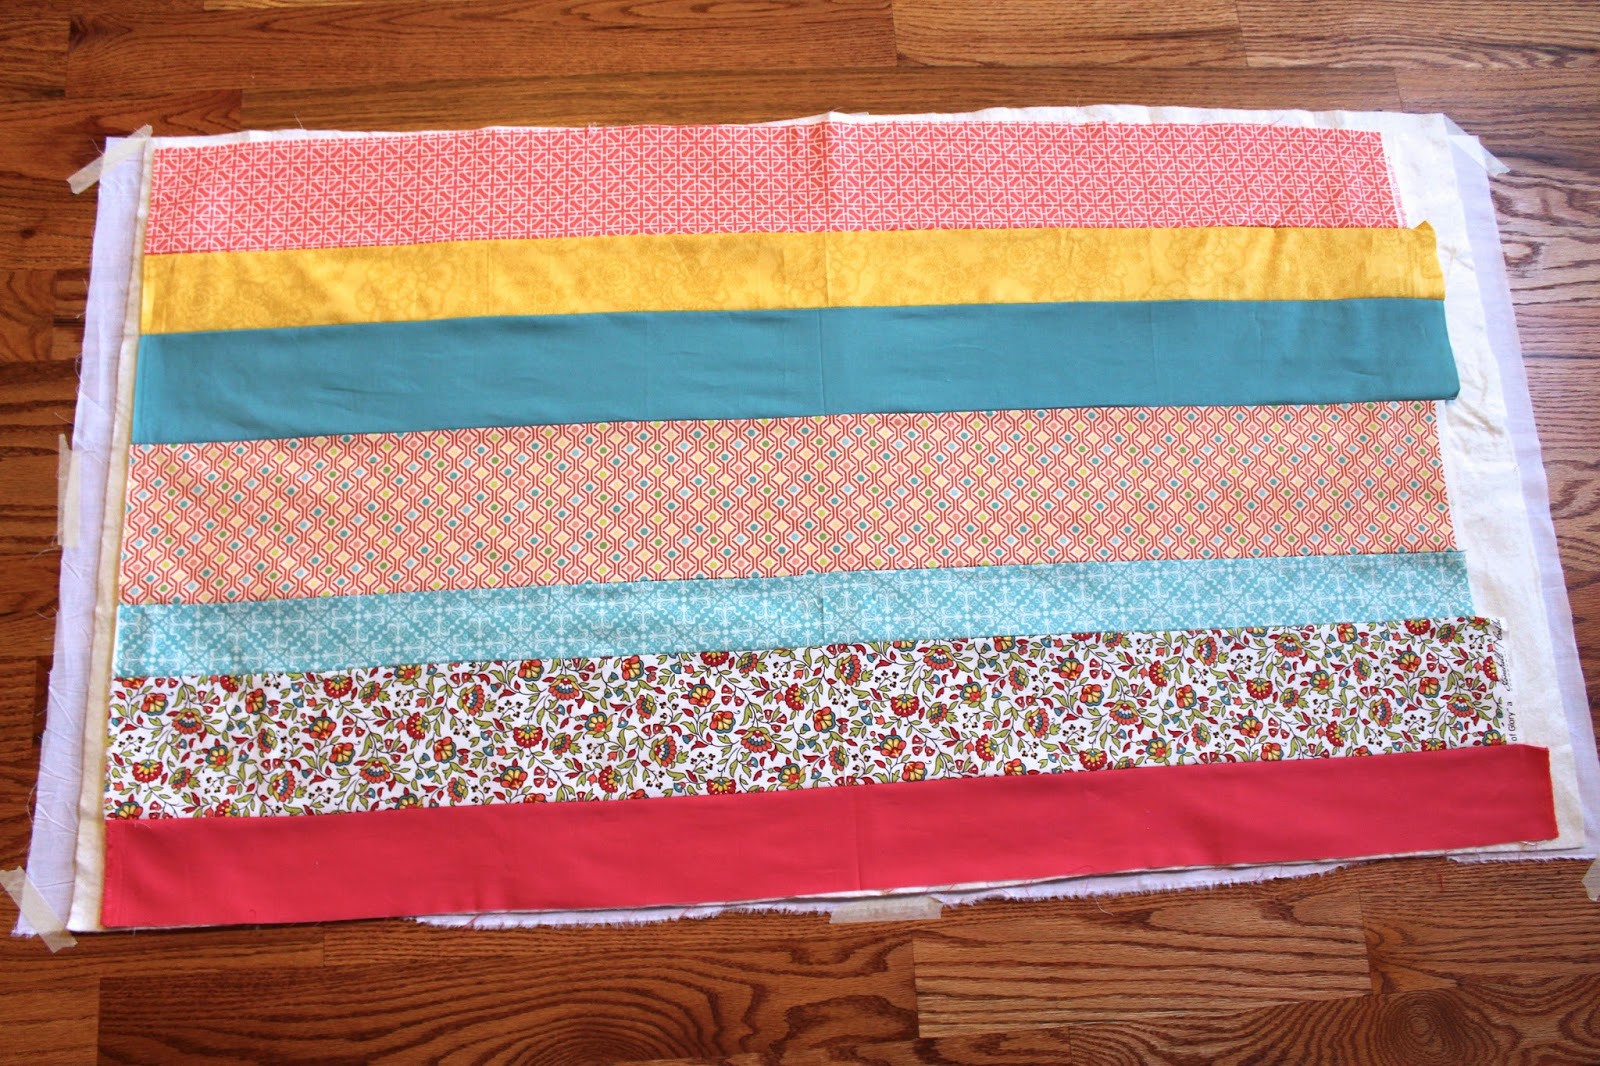
Iron the seams open.

After the strips are sewn together your rectangle should measure about 45" x 30".

Now it's time to get everything ready to be quilted.
Lay down your yard of “scrap fabric” on a flat surface.
This fabric will be inside the sham and won’t ever be seen so it’s totally okay use
cheap white muslin or some old scrap fabric. Tape
the corners and edges with masking tape so that it doesn't slide around.

Next lay down your batting.

Lay down your pieced top right side up. It should not go over the
edge of the scrap fabric and batting.
Safety pin all three layers together every 8” or so.

Quilt all the layers together. You don't have to use a walking foot because the layers aren't very thick, but it will be easier if you do. I quilted a quarter of an inch from both sides of
each seam.


After everything is quilted, trim all the extra batting and
scrap fabric off. I don't know what happened, but I accidentally cut a little triangle out of the bottom. Don't do that.


Cut your rectangle in half so that you have two sham tops each measuring about 30”x 22.5”.

Cut two 20” x 45" rectangles from the 1 ¼ yard piece of backing fabric.


Cut each of the rectangles in half. You should have four new rectangles measuring 20”x 22.5”.


Now you are going to sew the shams together with the
envelope back.
Lay your quilted top down, right side down. Lay your rectangles down, right side up.


Pin all the way around the edge. It will seam weird to sew it like this with exposed seams, but it will all be covered up with the binding.

Flip your sham over and pin the binding around the edge. I really like iCandy Handmade's tutorial for binding so I'm not going to write a new binding tutorial on here. You can use whatever binding method is your favorite.


You are amazing! I love your colors and your simple patterns. What a great job you did with EVERYTHING!!!
ReplyDeleteThank you so much!
ReplyDelete